


How to make ginger beer with lime: a journey of discovery
and turn it into an ice cream float

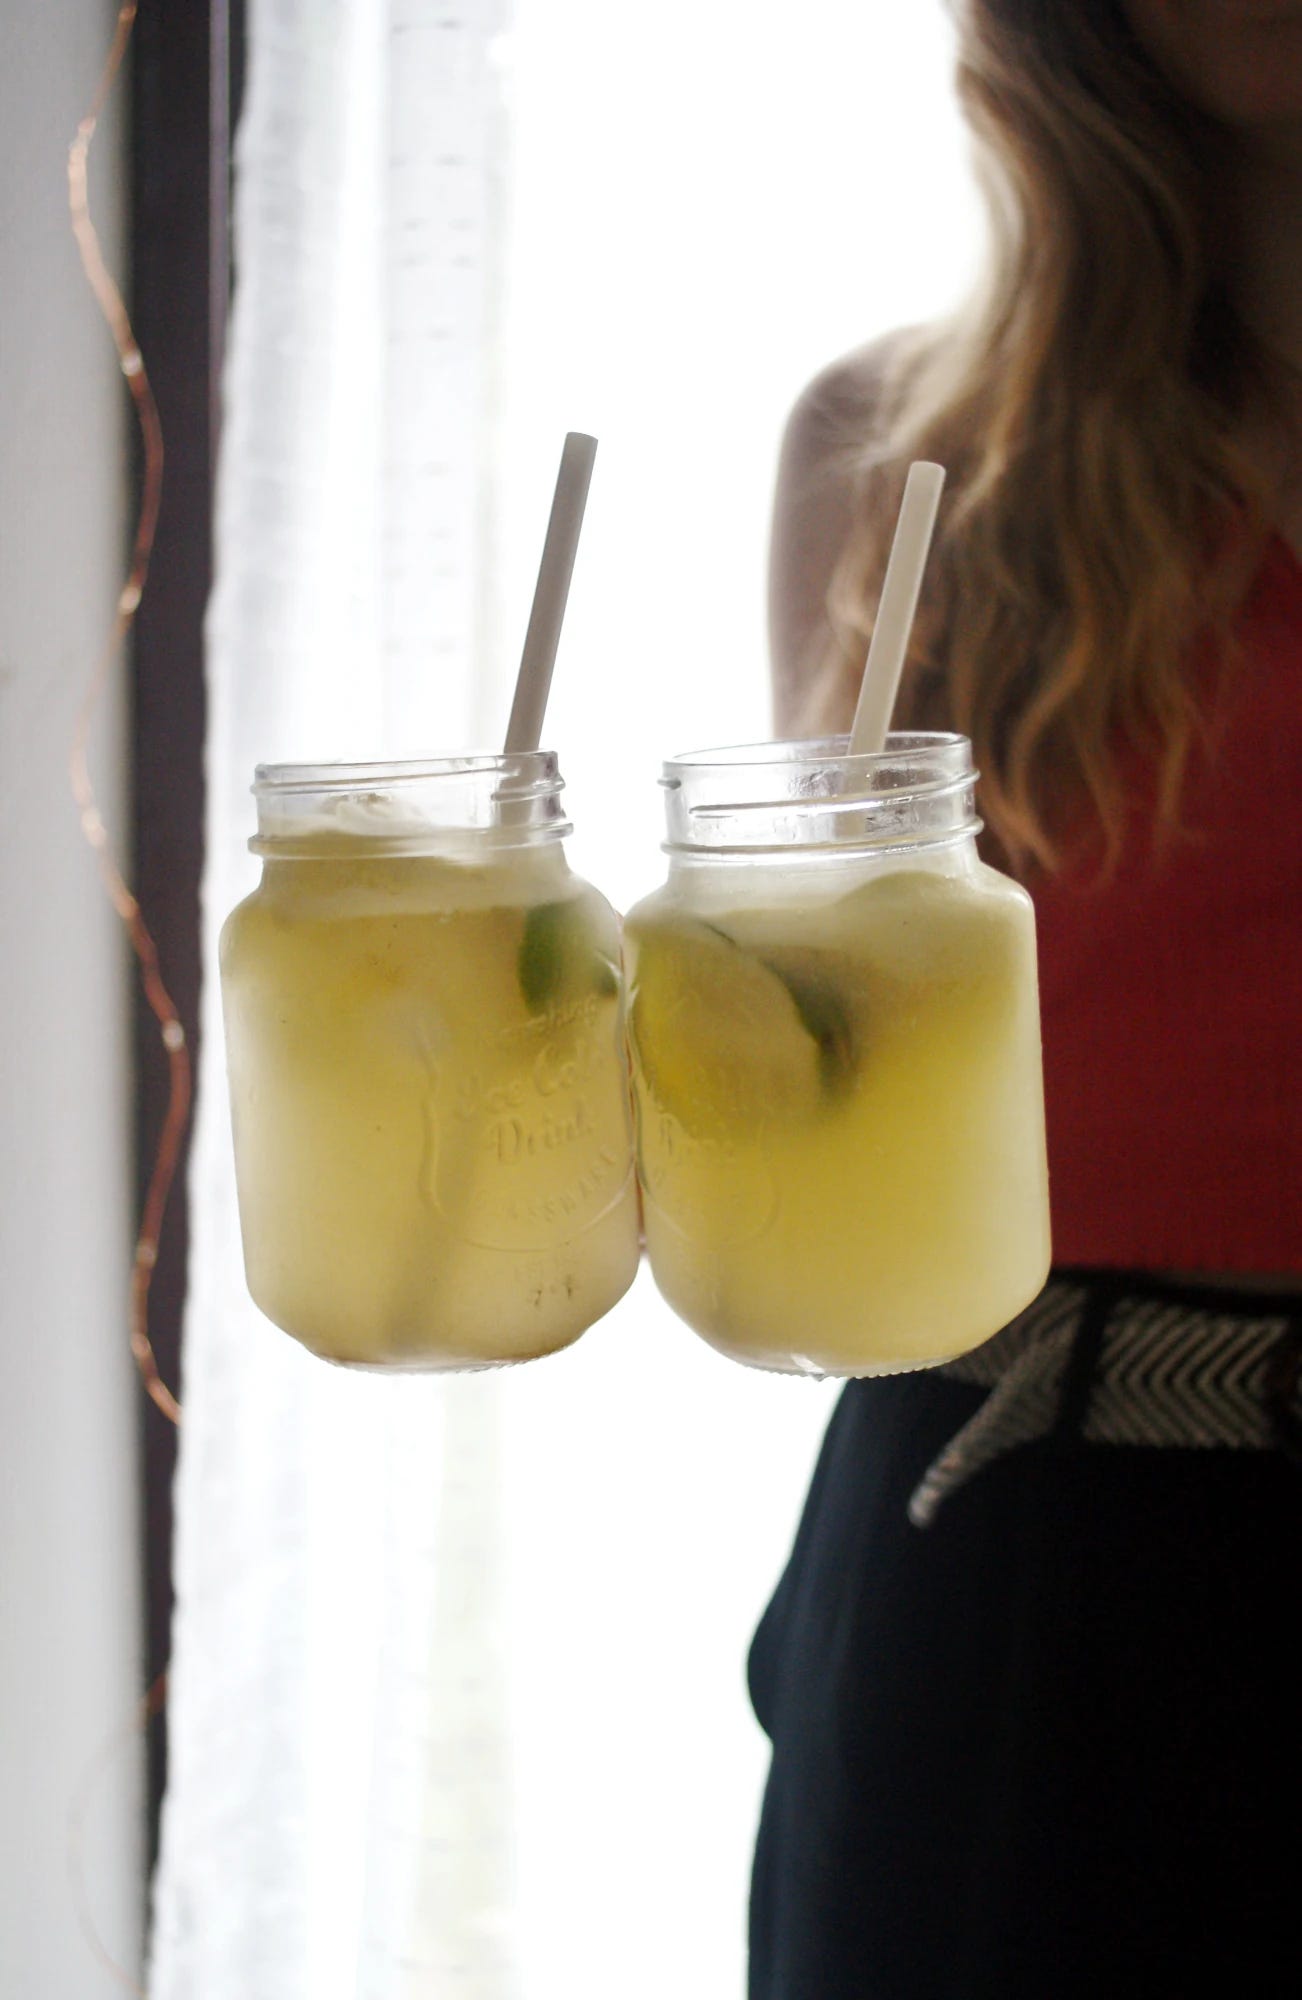
Around two years ago, Gaylord bought some sturdy glass tankards with lids and straws exclusively for mojitos. I know most people have wine glasses which, in the name, considerately explain what the vessel is used for, and maybe espresso cups too, and some incredibly glamourous drinkers will have martini glasses. But we have mojito tankards. These mojito tankards have not been getting much mojito action recently though. We don’t really drink that much. So the point in them seems redundant. Therefore, they have become my ginger beer float flagons.
Ginger beer is that soft drink I always forget. Everyone knows the sodas so popular they have become apparel and homeware, but as the quiet kid at soda-school, ginger beer ends up getting lost in all the clicks and fizzes of opening cans. Except on planes - there, for some reason ginger beer is the life and soul of the sky. Why, well, this is an interesting interpretation of the high stats. But on the ground, I couldn’t tell you the last time I drank any. Except for my own of course.
Ginger beer just strikes me as such a refreshing summer drink, so sharp and spicy it sits coolly detached from all the colas and lemonades and elderflower cordials we usually bring out at this time of year. While I could have just bought a bottle from the supermarket and plopped a ball of ice cream on top, served up in one of my ginger beer flagons naturally, I thought wouldn’t it be more complicated to make my own? Then I couldn’t let it go.
Is it complicated to make ginger beer?
Complicated is not the word I’d use, instead I’d say sloooow. Only the virtue of patience is required as the whole process takes over a week from start to finish. So, don’t wait for a ginger beer craving to get started. Start today - by the end of the two weeks or so you’ll hopefully want some.
Travelling from A to B on any cooking journey is usually fairly logical, but my brain hits a pothole, or maybe a fallen tree, when it comes to soda. It just doesn’t compute - but, how does it become fizzy…? The shortcut was invented by SodaStream, but I think we can all agree there is no natural ingredient from a home cook’s kitchen in those florescent sparkling drinks bought in plastic bottles.
For instance, homemade lemonade tends to be still, and you know there were some real lemons involved in its making. Homemade ginger beer is similar. Those sharp bubbles that sting your throat are gone, but instead the distinctive peppery smack in the face is the result of two forms of actual ginger that you measured and grated, and a gentle fizz thanks to the fermentation period, which is why a week or longer is required.
How do you make ginger beer?
Fermenting foods became the ‘in thing’ circa 2015, and it took me a long time to jump on that bandwagon - my problem is that I am a very cynical food writer who does not adhere to the foodie zeitgeist, which hasn’t necessarily done my career any favours. Eventually, I realised that I couldn’t avoid fermenting - it was literally my job - so I made my own fermented butter and, at first taste, I was converted. All that protestation for absolutely nothing.
I would like to ferment more foods - maybe make my own kimchi, sauerkraut, or kombucha - but the ripening smells are not often sociable. And the last time I tried to start a sourdough starter, it made me doubt my cooking capabilities as I think it died within a day.
A good, easy place to start is ginger beer, especially in summer. It will be drank often and eagerly, it requires minimal effort, equipment and prep, plus the warm weather will help it ferment all the faster.
So, where to begin on this fermentation journey?
Step 1: Make the starter
Every recipe out there suggests a different fermented base. Some recommend a ginger bug in which ginger, sugar and water are left to brew. Others refer to a SCOBY, or a ginger beer plant. If you’ve made your own kombucha, you will have seen a SCOBY before - they bring to mind the plastic tubs of slime or those sticky, stretchy aliens everyone in the playground used to have.
I followed the recipe by Gourmet Traveller which starts with a ginger beer plant - a slurry of dried yeast, sugar, ground ginger, and water. Into a jar it went which I covered with a lid for the want of some muslin, although the lid had a hole in the centre, probably not ideal for hygiene, but it did mean my starter could breathe.
Step 2: Feed
For 5 days, I left the jam jar of starter on the kitchen counter, and dedicatedly added the ½ tsp sugar and ½ tsp ground ginger each day. The yeasty fragrance sweetened and blended with the heat of the ginger, gradually becoming bready and beery which seemed to be a good sign.
Step 3: Make sugar syrup
Over days 5 to 8, the starter lived in the fridge because I didn’t want it to over-ferment while I dashed around town in the desperate hope of finding a large plastic bottle to store the finished product. Alas, France is useless when I actually need something, so I resolved to use a big plastic tub instead.
The recipe for the sugar syrup asked for 3 litres of water to 440g sugar. Into this, you squeeze 40g-worth of fresh ginger. I realised too late that my largest pan held 2.5 litres, so by default I went with a smaller quantity, but this turned out to be beneficial.
Like many of us ginger beer drinkers, I like it spicy. I want my tongue and throat to burn. So, even with just 2 litres of water, I found that the necessary ginger flavour was insufficient. Even with the freshly squeezed-juice of 40g ginger - which is a pitiful amount of juice by the way - I needed ginger fire. So I juiced more. Which sounds weird.
Into this gingery sugar syrup, you add citrus juice - in my case, I added the juice of two limes. The Gourmet Traveller recipe is a limey ginger beer, and that struck me as apt because of their complementary flavours in Dark ‘n’ Stormies and Moscow Mules. So, I abstained from the suggested lemon, and concentrated on unadulterated lime juice.
It was all stirred together, then I poured in the fermented ginger beer plant. There were some powdery solids floating in the drink all of which could have be strained easily, but I was on a mission to numb my mouth so I kept them in.
Step 4: Ferment
Finally, the last step of the process is to leave it to ferment, ideally in a plastic bottle to avoid any fermentation explosions. It won’t ferment in the fridge so find a cool spot to store your ginger beer baby. Cold spots are hard to find in a flat in the south of France, and by this stage, I’d given up with a plastic tub and was using a bowl with a plate on top, not something you want to stumble across when you stagger to the toilet in the middle of the night.
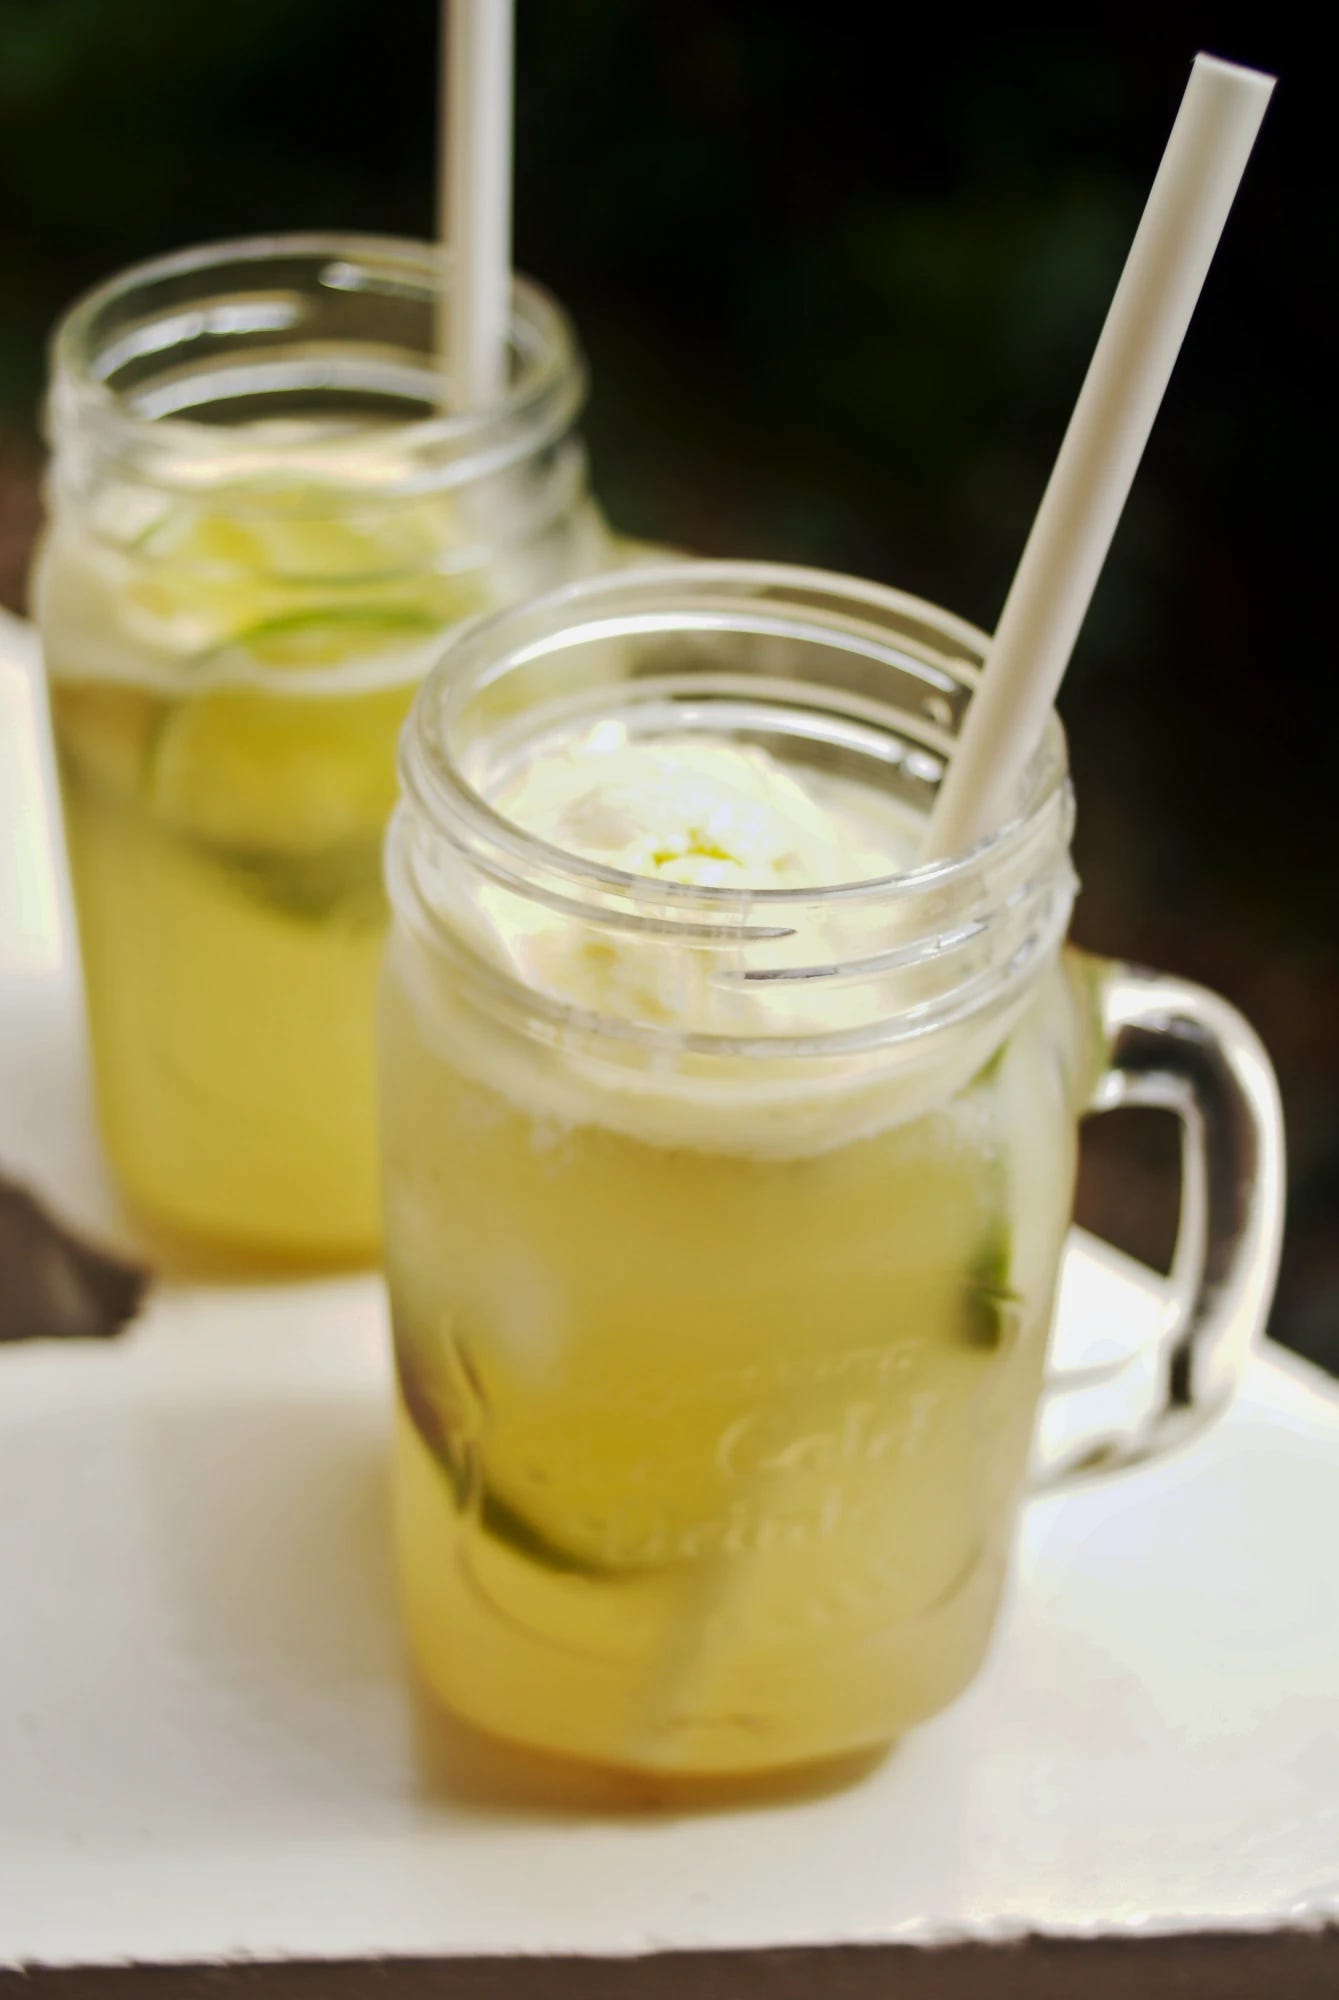
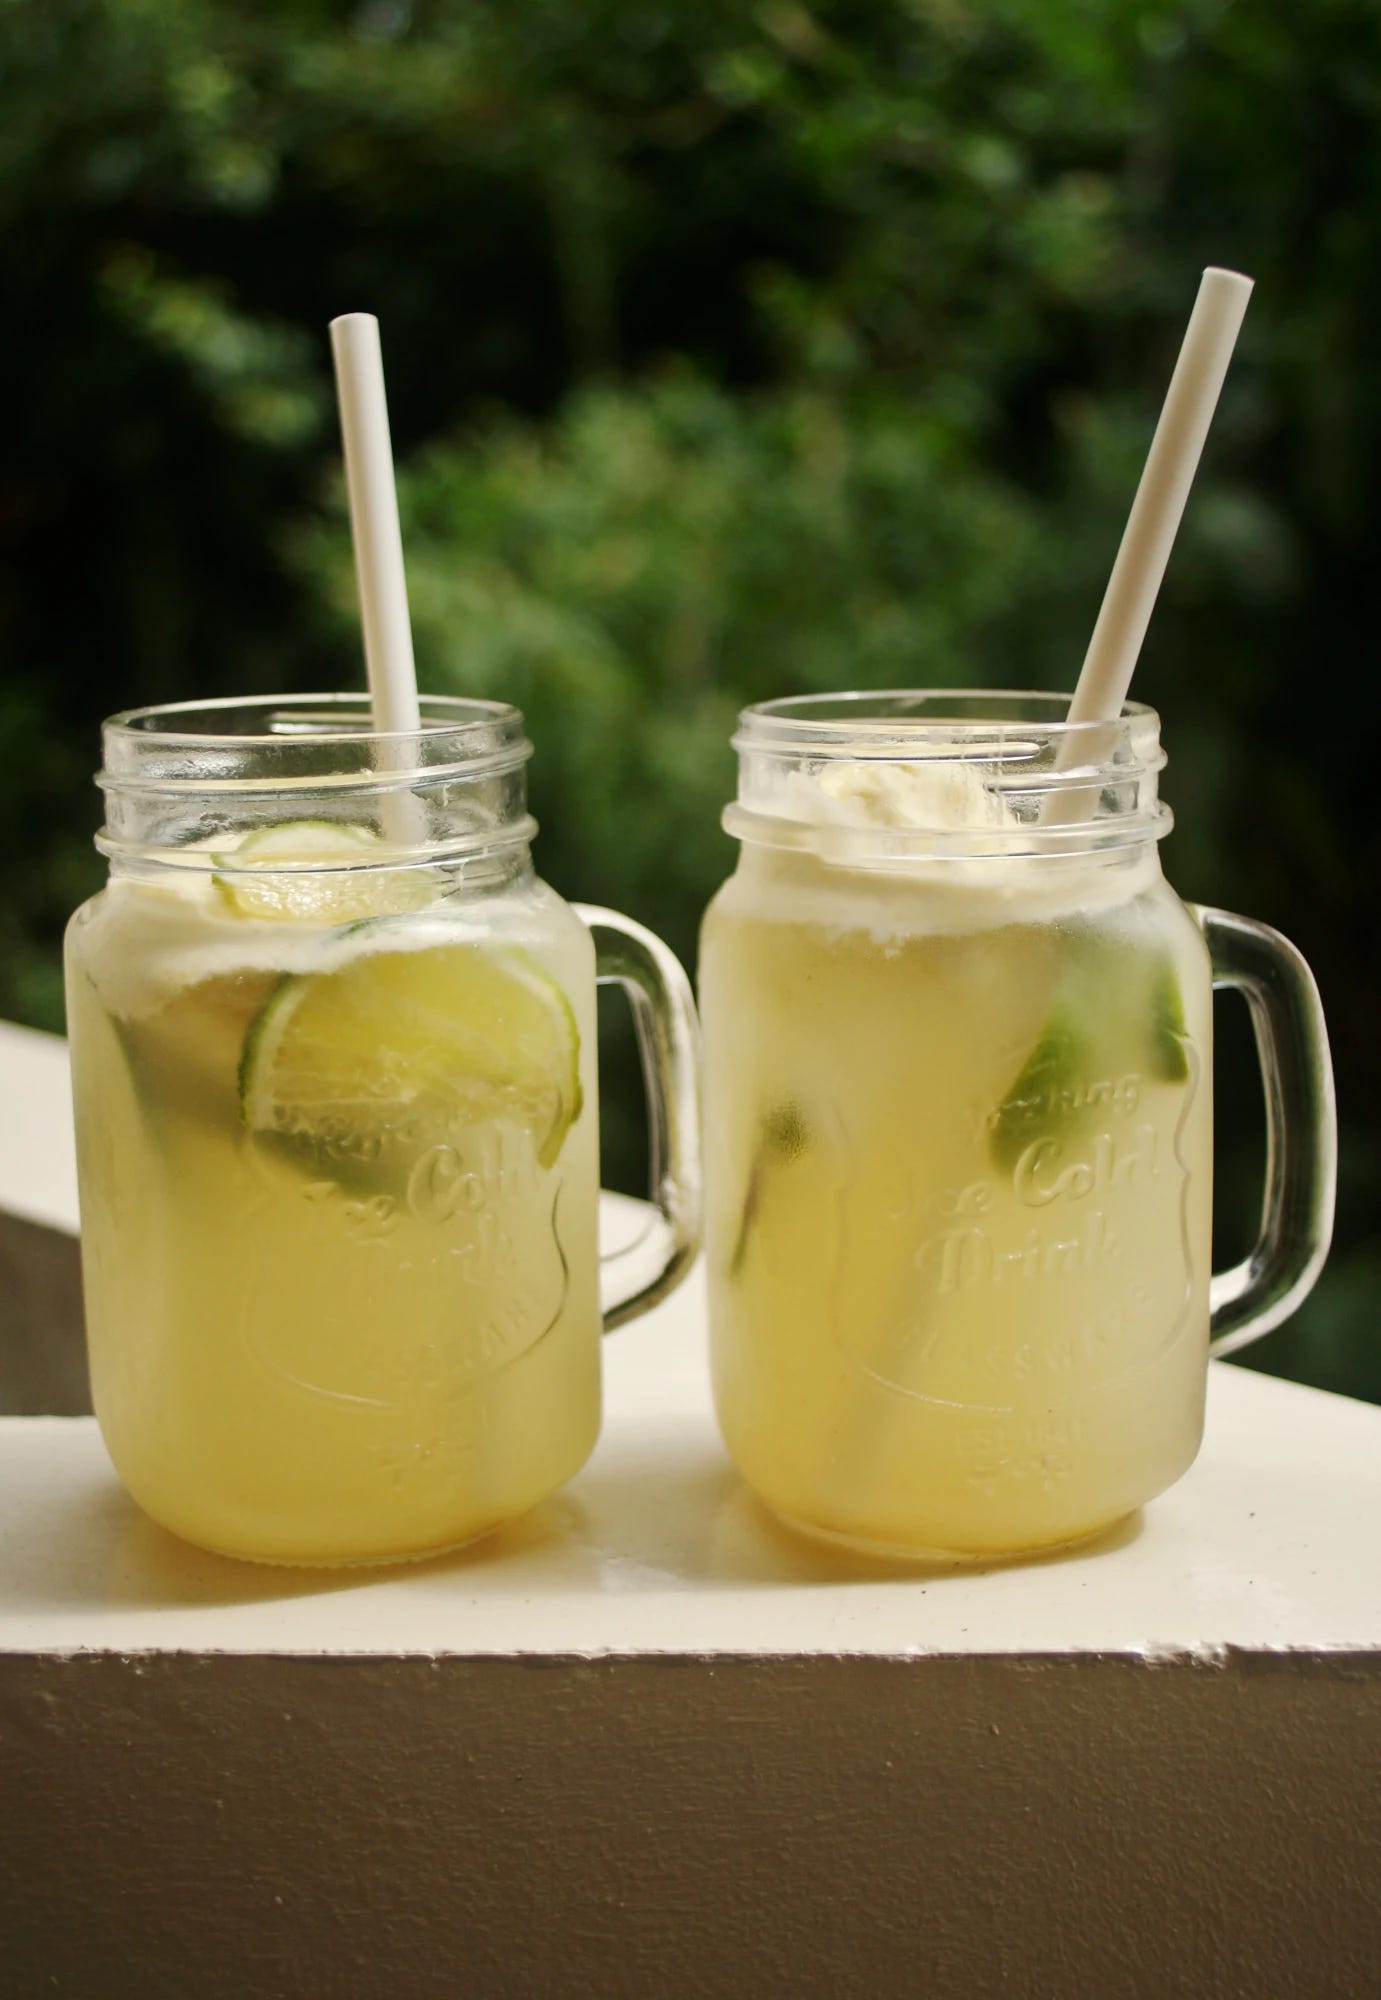
After around a week of fermenting, it should be gently fizzy and ready to store in the fridge and serve with slices of lime and lots of ice. And maybe ice cream.
What's the difference between ginger beer and ginger ale?
Honestly, this is the question I’ve been asking myself the entire time - forget fermentation procedures and timings, I’ve been wondering if I have the drink’s name right.
And it turns out the difference is distinct - ginger beer is brewed with real ginger, whereas ginger ale is made with ginger syrup and club soda. As a result, the flavours are remarkably different, so if you like the ginger heat, ginger beer is the drink you want.
And now, for its transformation into an ice cream float
While I could have added vodka or rum to my ginger beer and maybe used these mojito tankards in line with their intended use, I instead dolloped on top big mounds of vanilla ice cream.
I’ve already ranted about the terrible ice cream in my freezer - I swear I didn’t make it myself! - but combined with a fresh peppery and zingy glass of cold homemade ginger beer, it’s not half bad. (This probably shouldn’t be our go-to solution to finish the rubbish ice cream in the freezer, it takes far too long when you could just put said ice cream in the bin.)
So, serve up a long tall glass of ginger beer, ideally in some ginger beer float flagons, cut a lime and add the slices, then serve it with a scoop of ice cream, a straw and a happy smile.